
🔥 How to Add Facebook Pixel Using the Conversios Plugin – Super Easy Guide?
Want to boost your ad performance and track every click on your website? 📊 The Facebook Pixel is your secret weapon! It lets you understand user behavior, retarget visitors, and optimize your ads like a pro. 💡
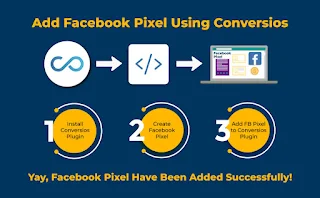
In this guide, we’ll show you how to add Facebook Pixel using the Conversios Plugin in just 3 simple steps! 😎
🔧 Step 1: Install the Conversios Plugin
First things first – install the Conversios Plugin from your WordPress dashboard. 🧩
- Go to Plugins > Add New
- Search for “Conversios”
- Click Install and then Activate ✅
Done? Great! Let’s move on. 👇
🛠️ Step 2: Create a Facebook Pixel
Now log in to your Facebook Business Manager 🔐
- Go to Events Manager
- Click Create Pixel
- Enter your website name and click continue
- Copy the Pixel ID 📋
This ID is super important – don’t lose it! 🧠
🔗 Step 3: Connect Facebook Pixel to Conversios
Almost there! 💨 Now let’s link your pixel to your website:
- Go back to your WordPress Dashboard
- Open the Conversios Plugin settings
- Find the Facebook Integration section
- Paste your Pixel ID and click Save 💾
🎉 Success! Facebook Pixel is Now Active!
That’s it – you’re all set! ✅ Your website is now ready to track conversions, visitors, and ad events using the Facebook Pixel. 📈
🧪 Pro Tip: Use the Facebook Pixel Helper Chrome Extension to check if your pixel is firing correctly. 👀
🖼️ Image Source: Conversios Plugin Setup Flow


